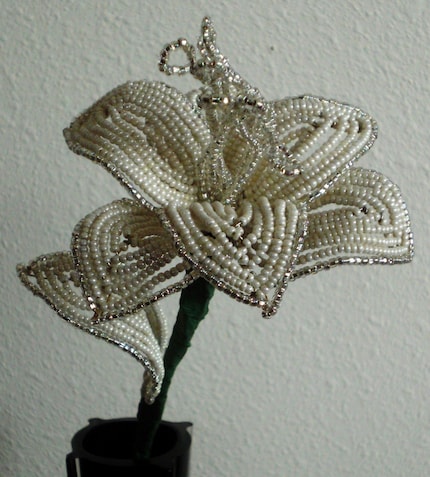
From HelloDaisy etsy shop
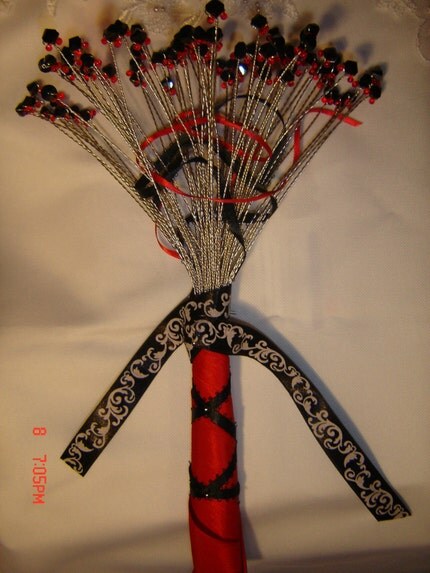
From KreatedbyKelly etsy shoo
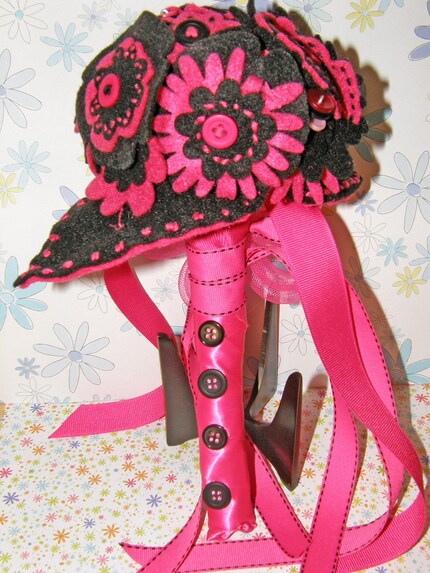
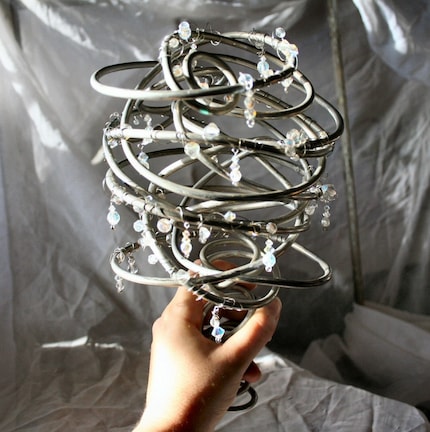
From BelleSirota Etsy shop
From adamslr etsy shop

From Refinerii etsy shop
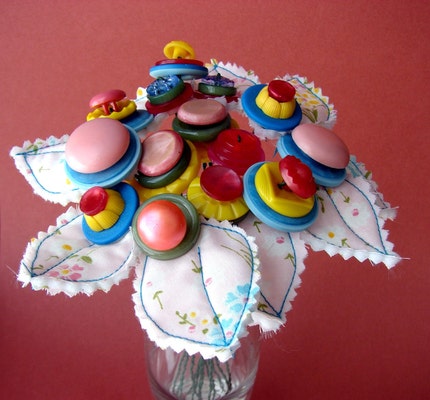
From princesslasertron etsy shop


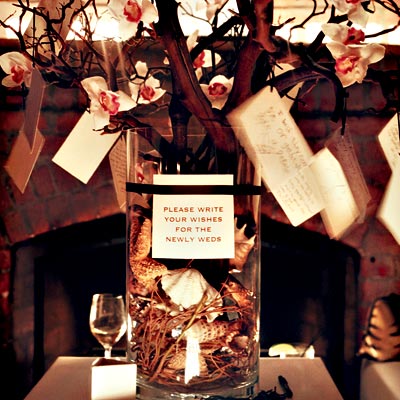
 From Martha Stewart Weddings
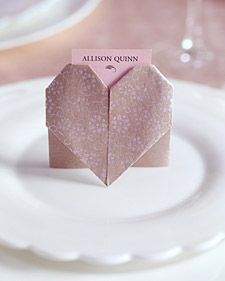
1. Lay paper on work surface with the side you want for the heart face down. Fold paper in half; unfold.
2. Bring top left corner in to center crease; repeat with top right corner.
3. Turn paper over.
4. Fold left edge in to center crease; repeat with right edge.
5. Fold top point down to meet with bottom edge. Fold top outer corners back. Fold two flaps that meet in the center under, to create the V of the heart shape. Slide place card into pocket behind heart, and stand the heart up.


 Tealight candle holders - 4 for $1.50


|

Cut netting or bridal veiling 8 1/2" by 8 1/2", put two hershey kisses in spoon. Enclose spoon in netting. Tie up with 12" piece of ribbon adding the following poem typed out. (If you have a computer and Word, you can use one of the label templates to print multiple copies of the poem, then just cut them out.) Punch a hole in the end of the paper so you can just tie it in.
"We thank you for coming,
with a spoonful of kisses,
to bless our beginning,
as Mr. and Mrs.!"
Materials:
Instructions:
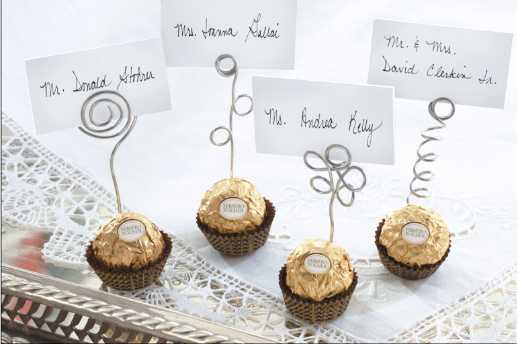
TIGHT TWIST
LOLLIPOP SWIRL
FLOWER
CORKSCREW